前言
这边文章介绍创建一个基于RESTful的网络服务web service,并介绍一些相关的概念。
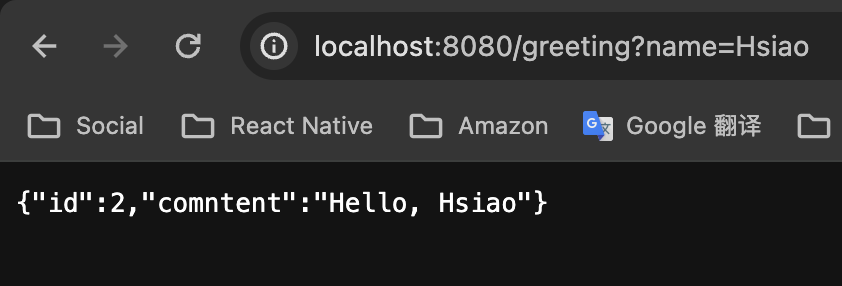
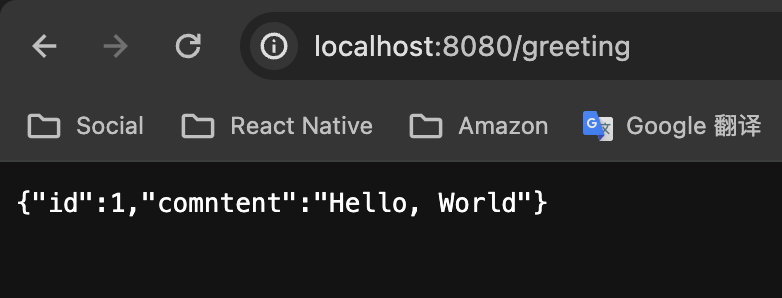
最终我们需要实现:访问"http://localhost:8080/greeting?name=Hsiao"后,在浏览器显示以下内容:
参考:https://spring.io/guides/gs/rest-service
什么是RESTful?
什么是web service?
一、Spring初始化
在官方的的页面:https://start.spring.io/ 我们按照以下配置
- Project:选择
Marven - Language:选择
Java - Spring Boot:选择
3.2.3 - Project Metadata:Artifact设为
rest-service,Packaging选择Jar,Java选择17 - Dependencies:添加
Spring Web
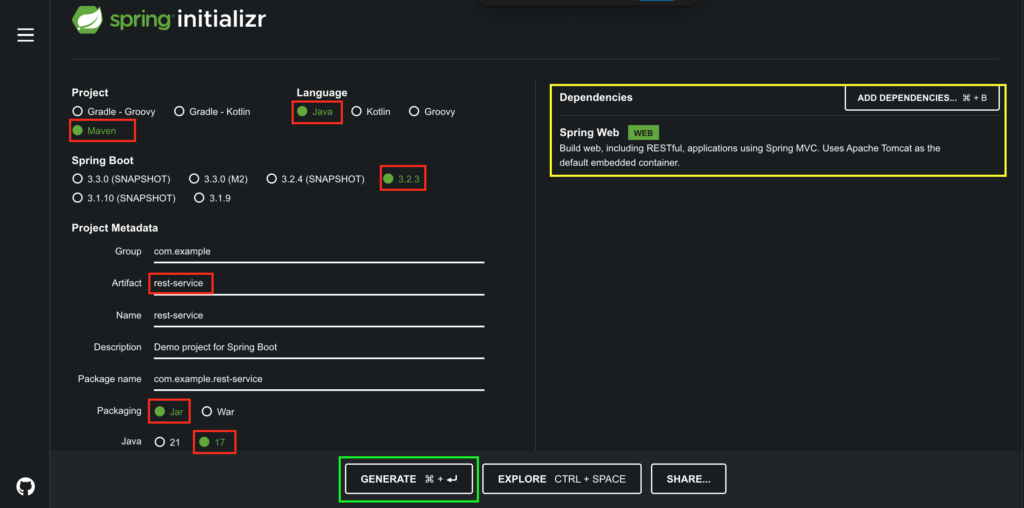
点击Generate后会下载rest-service.zip,将其解压得到rest-service并在VS Code中打开后,默认是这样的:
二、创建record Greeting
我们这个web service网络服务将要响应对/greeting接口的GET请求,该请求有一个可选的String类型参数name。
在我们的响应中,响应头为200 OK表示响应成功,同时我们需要把一个Greeting实例greetingObj放在响应体中
Greeting实例的一个实例如下:
{
    "id": 1,
    "content": "Hello, World!",
}其中的id字段是生成的问候语的唯一标识符,它是全局自增不会重复的,换言之每次响应这个接口返回的id都会不一样,且是全局自增的。content是问候的具体内容。
创建record Greeting
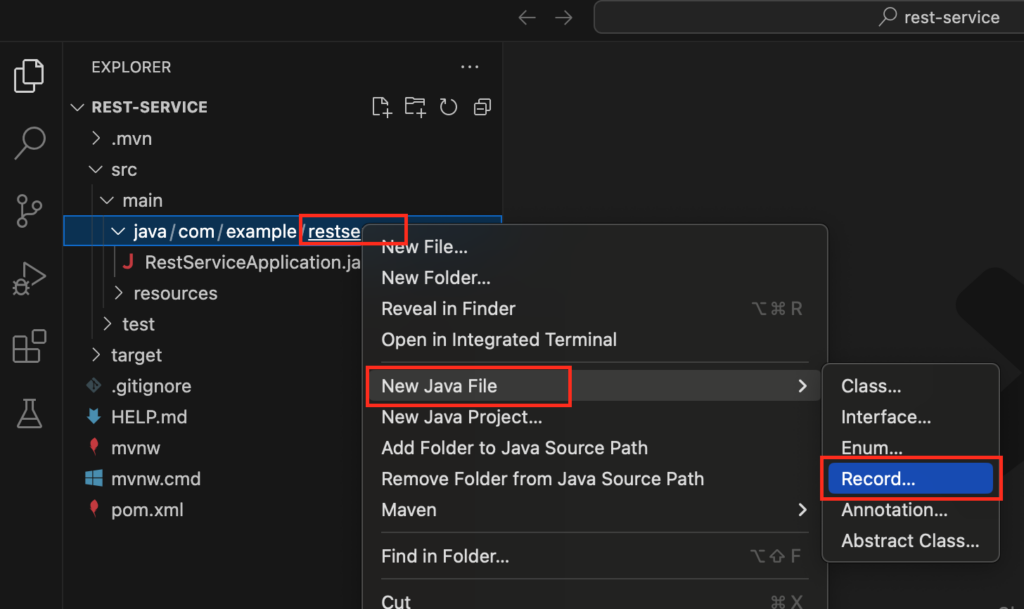
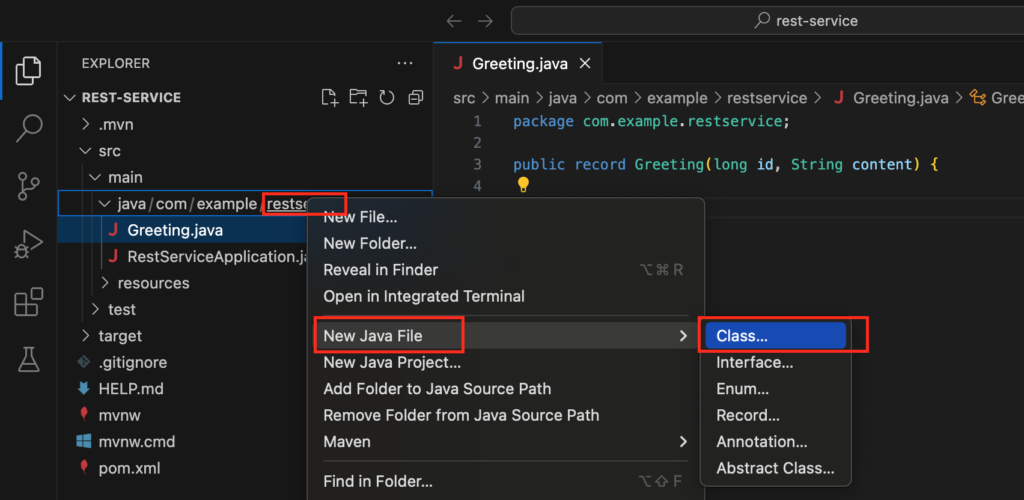
在java/com/example/restservice处右键,依次选择New Java File -> Record
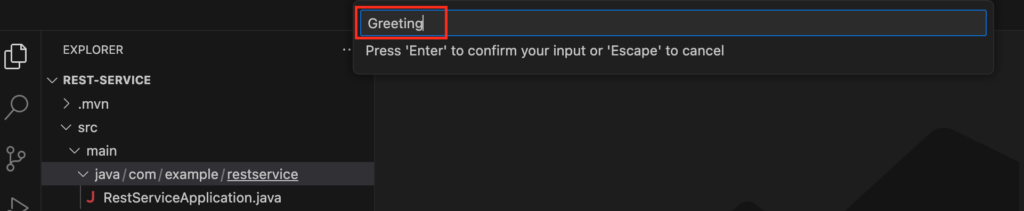
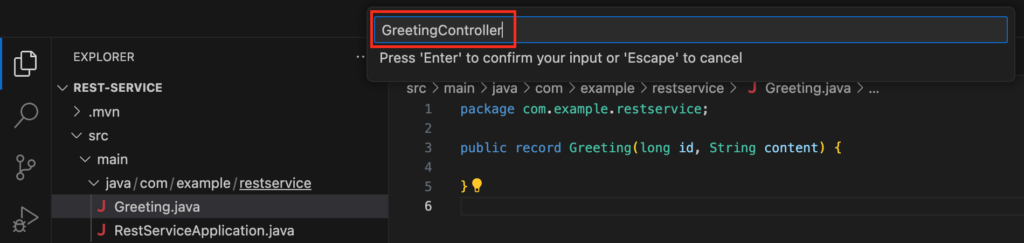
给record命名Greeting:
默认的Greeting:
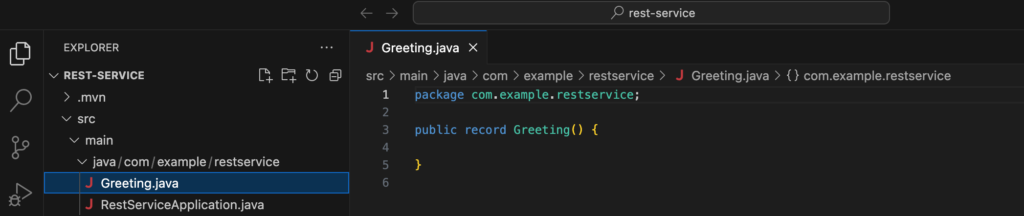
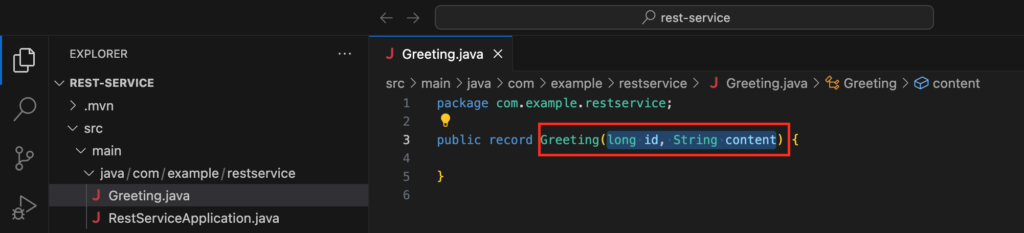
我们将其修改成Greeting.java:
package com.example.restservice;

public record Greeting(long id, String content) {

}
三、创建class GreetingController
在java/com/example/restservice处右键,依次选择New Java File -> Class
给class命名GreetingController
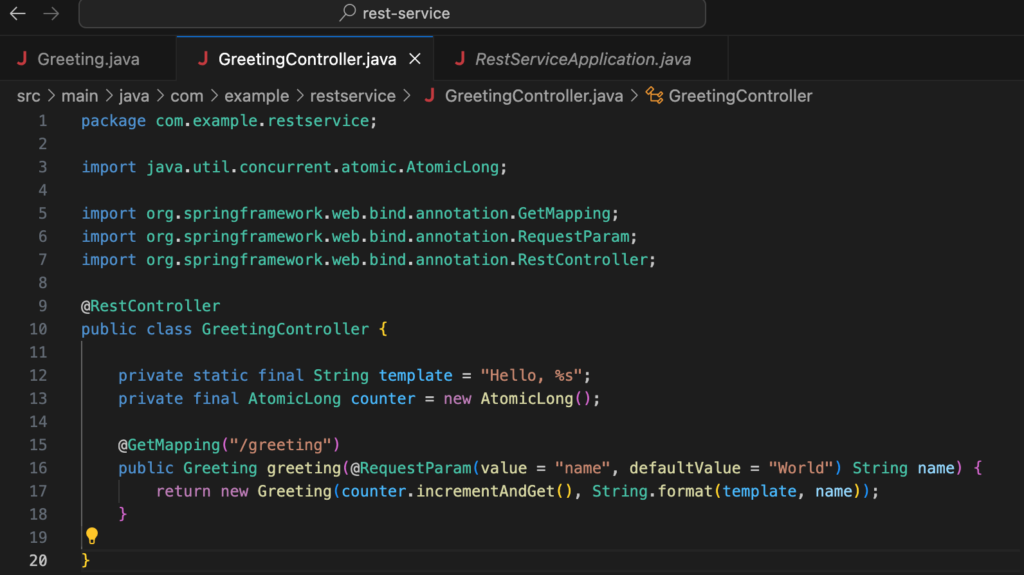
将其修改成 GreetingController.java:
package com.example.restservice;

import java.util.concurrent.atomic.AtomicLong;

import org.springframework.web.bind.annotation.GetMapping;
import org.springframework.web.bind.annotation.RequestParam;
import org.springframework.web.bind.annotation.RestController;

@RestController
public class GreetingController {

    private static final String template = "Hello, %s";
    private final AtomicLong counter = new AtomicLong();

    @GetMapping("/greeting")
    public Greeting greeting(@RequestParam(value = "name", defaultValue = "World") String name) {
        return new Greeting(counter.incrementAndGet(), String.format(template, name));
    }

}
四、运行
在VS Code点击运行后,访问"http://localhost:8080/greeting"将会显示以下:
若在访问该接口时带上参数name,如"http://localhost:8080/greeting?name=Hsioao",我们的greeting()方法能解析到name参数是“Hsiao”,所以不再使用默认的参数“World”:


